
When the Nail Design in Your Head Is Hard to Put Into Words
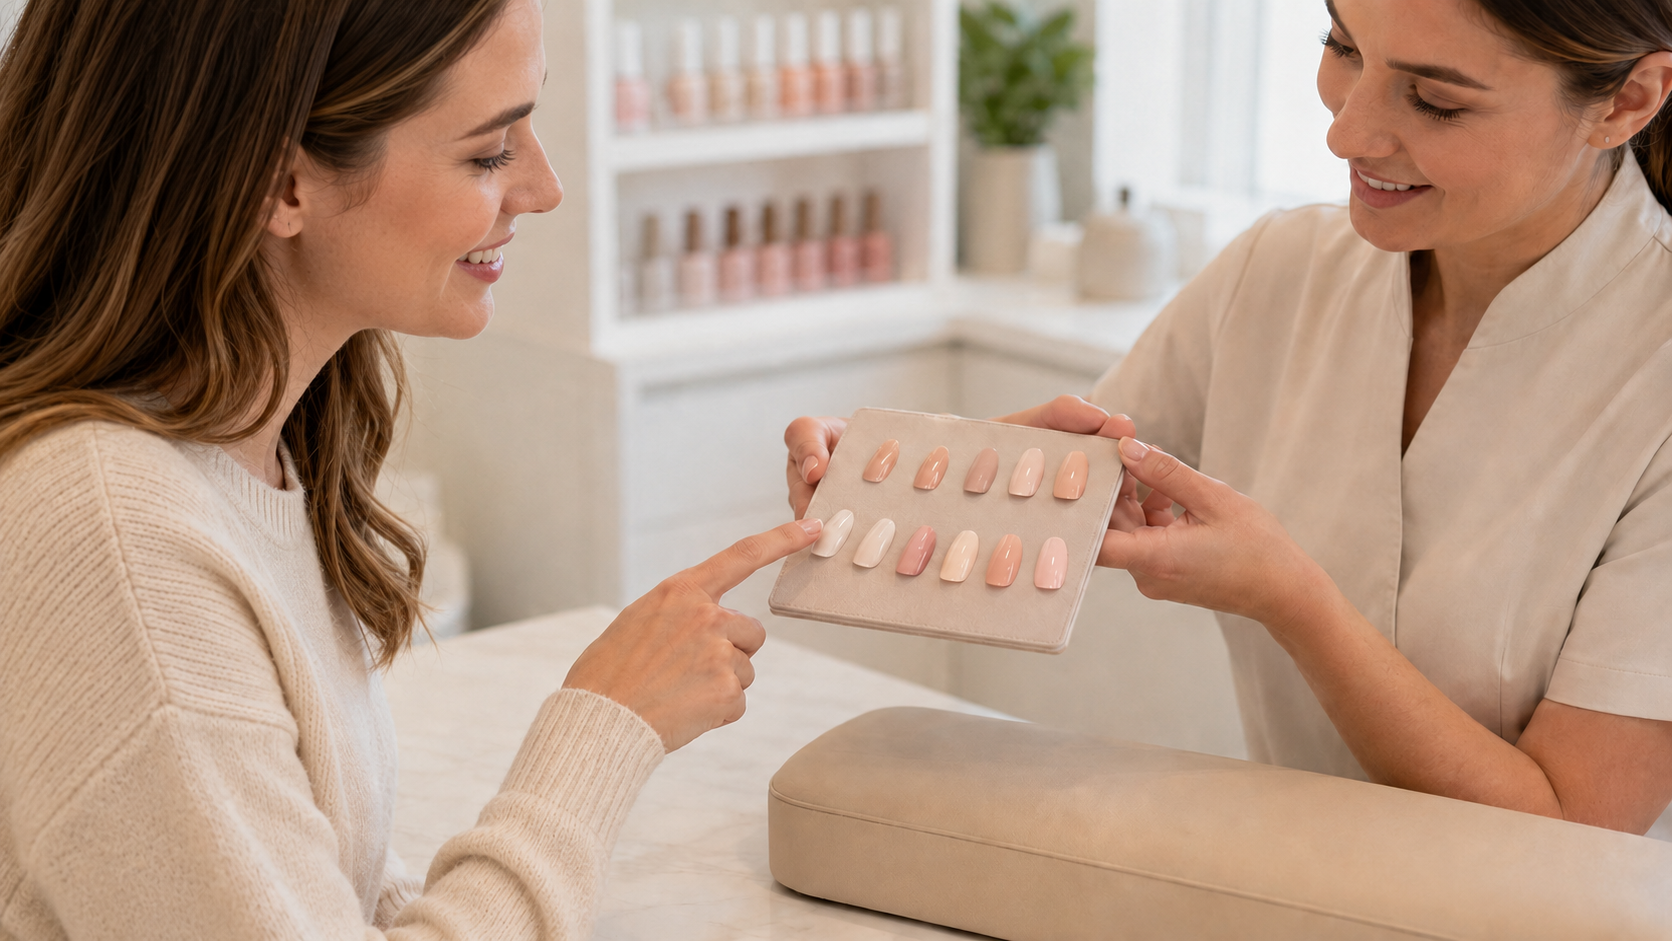
One photo for the color, another for the shape, and one small detail saved from Pinterest. By the time your appointment arrives, the design may feel perfectly clear in your head. Then your nail technician asks, “What would you like today?”—and suddenly, putting that idea into words feels much harder than expected.
Should you show every photo you saved or narrow it down to just one? Is asking for something “natural” specific enough? And what happens if the design was created on longer nails, a different shape, or with products your salon may not carry?
To help your nail technician understand the design you want, bring one to three reference photos and confirm seven details before the service begins: nail shape, length, base color, coverage, finish, nail art placement, and whether the design is realistic for your natural nails. Instead of asking for an exact copy, point out the specific detail you like in each photo. This gives your technician a clearer direction while leaving room to adapt the design to your nails.
Explain the Nail Design You Want Clearly
A reference photo helps, but do not assume it shows everything you want. You may like the color in one photo, the shape in another, and the nail art in a third. Tell your technician exactly which part of each photo you want to use. Be clear about the shape. Round and squoval are softer and easier to wear. Almond gives a slimmer look. Coffin and stiletto need more length and usually look bolder. If you do not know the name, point to the photo and say whether you want the tip more round, square, or narrow.
Do the same with length. “Short” and “medium” can mean different things, so show how far past your fingertip you want the nail to go. Think about typing, work, workouts, and daily use.
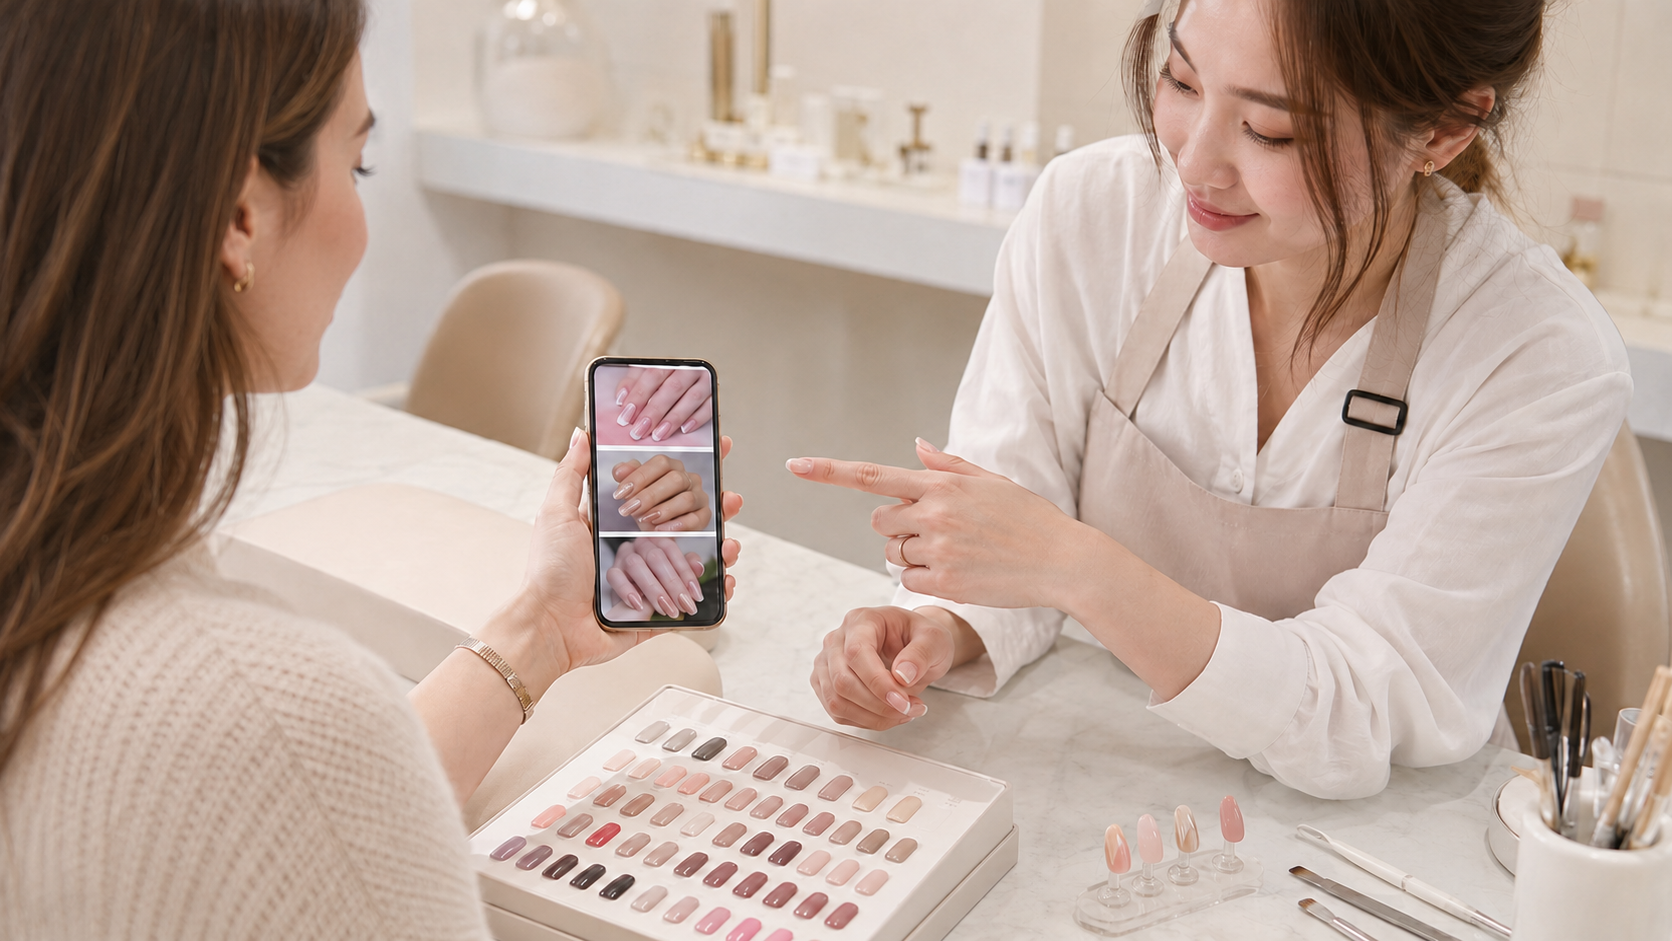
Color also needs detail. “Nude,” “pink,” and “white” cover many shades. Show the photo, compare it with the salon’s color samples, and say whether you want the color sheer, milky, or fully opaque. Before starting, confirm the shape, length, color, finish, and nail art placement.
Define Your Nail Shape, Length, and Finish
After choosing your reference photos, talk with your nail technician about the shape and length first. Square, squoval, round, oval, almond, coffin, and stiletto shapes all create different looks, from soft and natural to sharp and bold. If you do not know the exact name of the shape, simply show your technician the photo and describe the tip you like: more square, softly rounded, or tapered toward the end.
Length should also be discussed clearly from the beginning. Words like “short” or “medium” can mean different things to different people, so show your technician how far you want the nails to extend past your fingertips. You should also consider your work, typing habits, workouts, and daily routine. A beautiful set of nails should not only match the reference photo but also suit the way you use your hands every day.
Consult on Colors Using In-Salon Samples
Reference photos can help you identify the color family you like, but colors on a screen do not always match the polish in real life. Lighting, filters, and screen brightness can noticeably change how a shade appears. A beige tone in a photo may look more pink, peach, gray, or brown once it is on your nails. Before making a final choice, compare the reference image with the salon’s actual color samples. If certain shades usually make your skin look too yellow, too pink, or washed out, let your nail technician know so they can help you choose a more flattering tone.
For nude, milky, or natural-looking designs, coverage also makes a big difference. Sheer polish gives a light, transparent wash that still shows the natural nail underneath. Milky polish creates a soft, semi-translucent look, while opaque polish fully covers the natural nail. You should also confirm the finish you want, such as glossy, matte, chrome, cat-eye, glitter, or jelly. The same polish color can look completely different depending on its coverage and finish.
Explain Where You Want the Nail Art
Nail art placement can completely change the overall look of a manicure. Be clear about which nails will be the main accents, which ones should stay simple, and whether both hands should follow the same layout or have slight variations. For example, you might place the main design on the ring finger, add a small detail to the thumb, and keep French tips on the remaining nails. For French tips, confirm whether you want the line thin or thick, straight or curved, and whether it should look the same on every nail. For flowers, gems, or hand-painted details, explain whether you want them near the cuticle, in the center, or closer to the tip. Placement may also need to be adjusted based on the length and surface area of each nail so the design does not feel crowded or uneven. Charms and 3D details should be placed where they look good without getting in the way. Large pieces or details set too close to the edge may catch on hair or clothing or feel uncomfortable during everyday use. Before the service begins, review the layout on each nail with your technician. This quick check helps prevent misunderstandings and keeps the final set balanced.
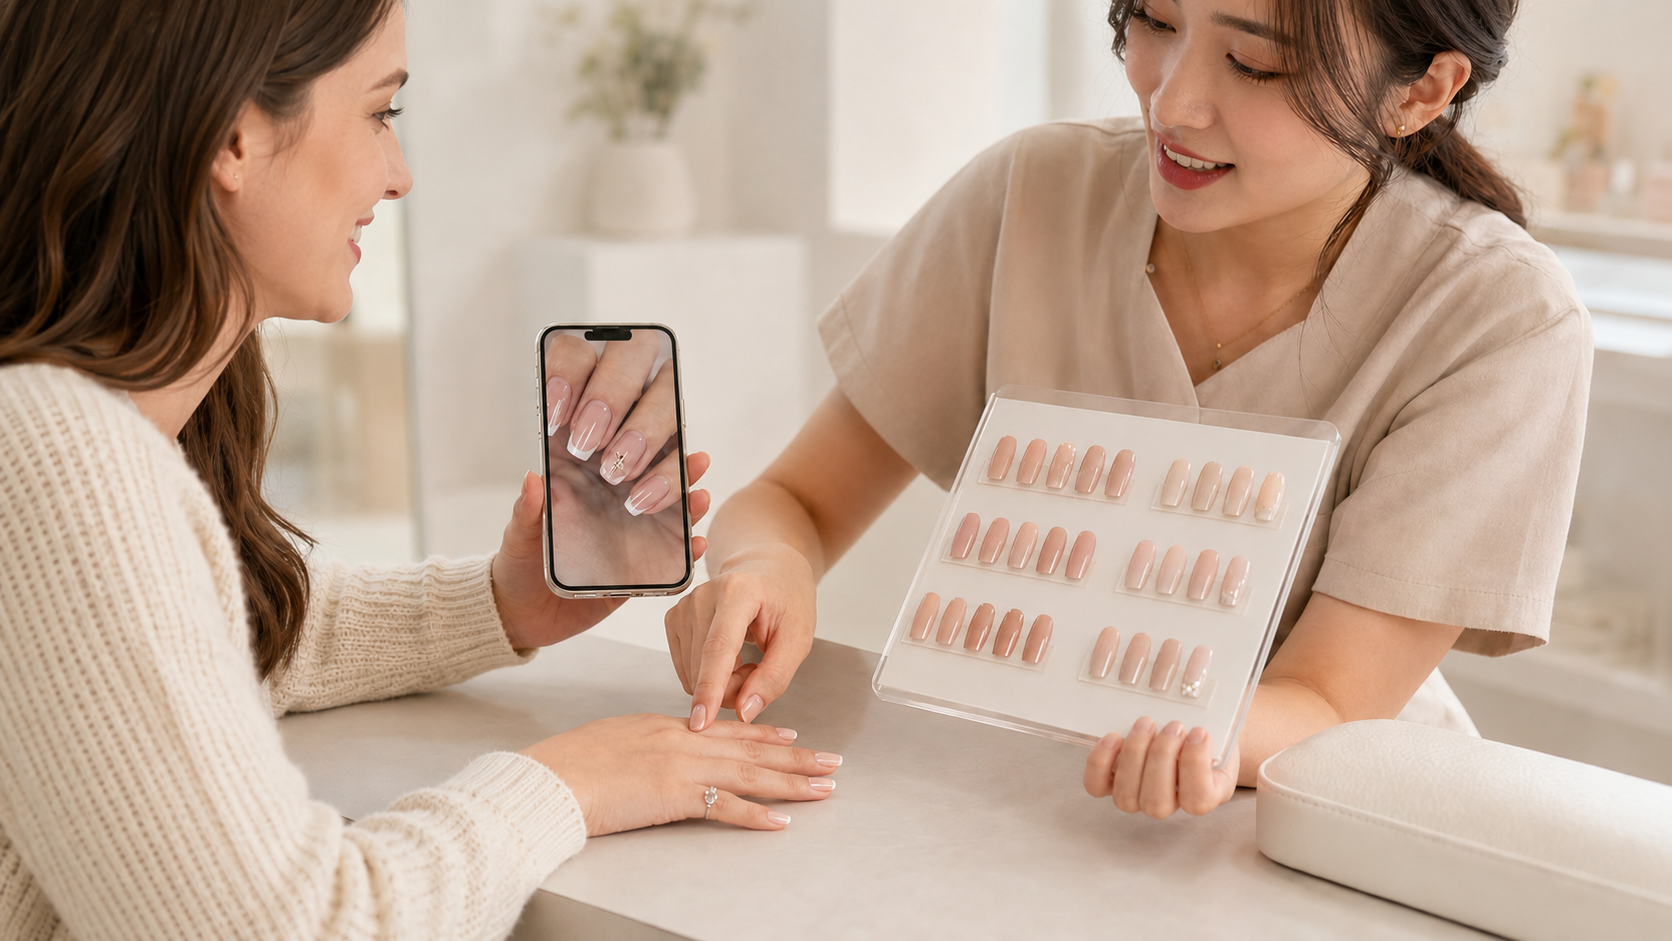
You do not need to know every professional nail term before your salon appointment. A few clear reference photos, your top priorities, and an open conversation are usually enough to help your nail technician understand the look you want. During the appointment, speak up if anything needs to be adjusted before the service is finished.
If you notice a toenail that has become discolored, thickened, painful, or has started lifting from the nail bed, it is worth checking its condition before getting a pedicure. Read When Should a Toenail Be Checked? to learn which changes can usually be monitored at home and which signs mean you should see a healthcare professional before your appointment.